
Pre Wedding Photo Backgrounds: 5 Checks for Indore Couples
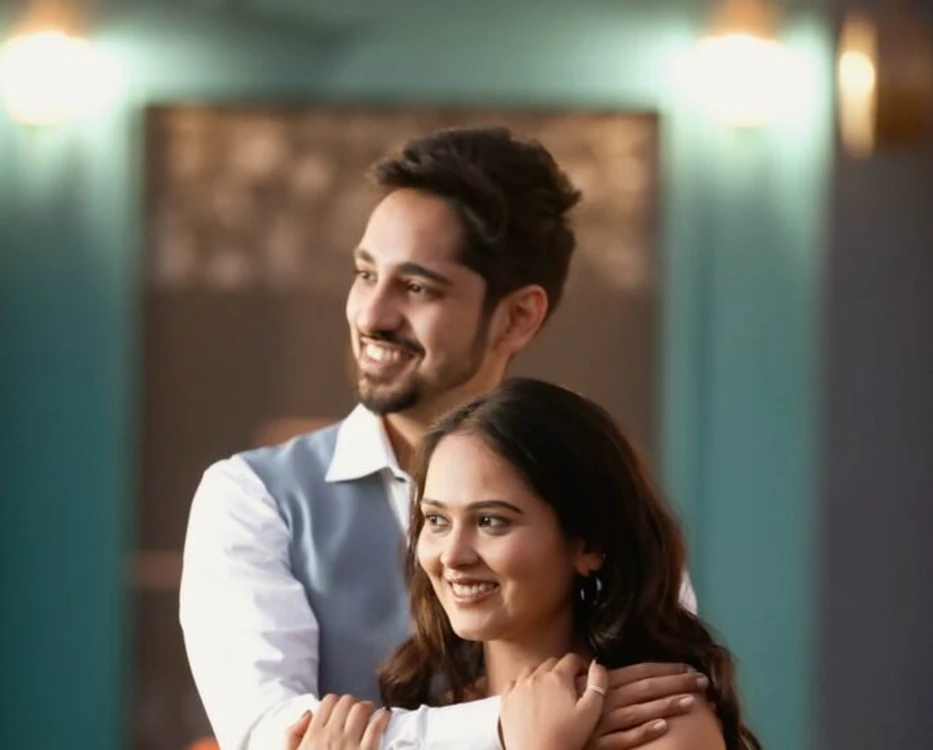
Pre wedding photo backgrounds should support the couple rather than compete with them. A colourful wall, an interior doorway or a stretch of greenery can all work, but the useful question is what each setting does behind your faces and clothing. For an Indore couple planning a shoot, this is a practical way to compare options before building a long location list.
This guide is about the background inside the photograph, not a ranking of venues. The featured portrait illustrates how a teal wall, warm tones and soft detail can sit behind a couple without becoming the main subject. It does not identify a venue or establish permission to shoot there.
1. Check pre wedding photo backgrounds at head height
Start with the area immediately behind both heads. A pole, a sharp corner or a bright sign can appear to grow out of someone’s hair when it lines up with the camera. Moving a step sideways may change that overlap without changing the entire setting. Ask for a test frame before committing to a pose.
Look beyond your own face when reviewing it. A clean background behind one partner can still have a distracting edge behind the other. Check the space above both heads and the gap between them. The solution may be a small change in camera height or couple position, rather than tighter framing that cuts off hair.
2. Separate clothing from the colours behind it
Compare outfits against the background in daylight, or under the light planned for the session. A dark jacket against a dark wall can lose its outline. A pale outfit in front of a very bright surface can also become hard to distinguish. Contrast does not have to mean opposite colours: a change in brightness or texture may be enough.
Take a simple phone reference with both outfits visible. It is a planning aid, not a promise of the finished result, because camera settings and lighting will differ. If you are choosing clothing for several settings, use the outfit-change planning guide to keep the changes purposeful instead of packing a separate look for every wall.
3. Judge distance, detail and light together
Background blur depends on camera choices and the distances between the couple, camera and surroundings. A textured wall directly behind you will behave differently from trees farther away. Tell the photographer whether you want a recognisable setting or a quieter portrait, then let them work out a suitable position and lens.
Do not assume blur will remove every distraction. A bright patch, large colour block or strong line may still draw attention even when it is soft. Look for a usable frame first. For a small portrait sequence, one uncluttered area can be more useful than a large property with no comfortable place to stand.
Light is part of that decision. A background that looks attractive at one hour may place the couple in patchy light at another. Discuss timing alongside the location rather than after it; the pre-wedding shoot timing guide is a separate starting point for that conversation.
4. Leave space for more than one final crop
A landscape photograph for an album and a vertical picture for a phone do not keep the same edges. Ask for a few frames with breathing room around both people, as well as the intended tighter compositions. Neither partner should have to lose part of their face to make a different format work.
Before relying on a decorative feature, consider where it sits in each crop. A doorway that frames a wide photograph may disappear in a vertical version. That does not make the location unsuitable; it means the photographer may need a second composition. Use the close-up portrait guide for the expression-led part of the sequence, while keeping some frames that explain the setting.
5. Build a short background sequence, not a checklist of walls
Choose backgrounds with different jobs. One can establish the space, another can provide a clean mid-length portrait, and a third can add a change of colour or texture. If two settings produce almost the same photograph, you can keep the one that is more comfortable and practical on the day.
For any property under consideration, confirm current photography permission, usable areas, changing arrangements and charges directly before finalising the plan. A photograph from an earlier session is not proof of present access. Do not move furniture, step into water or climb a structure just to clear a background. Find a composition that works from a safe, permitted position instead.
A useful reference to send before the shoot
Share a small set of references with a sentence about each: the colour behind the couple, the amount of visible setting, or the way the clothing stands out. Avoid sending pictures with only “same as this” as the brief. Your photographer needs to know which part you want to keep and which parts can change.
The location and photo-story guide can help turn those references into a sequence. To discuss pre wedding photo backgrounds and a shoot plan for your own session, contact WPII on 7385222228. Share your outfit references and preferred framing so the conversation starts with the pictures you want, rather than a venue name alone.